
Ok, so I have been having some real fun today making bracelets from old plastic bottles and fabric scraps.
I normally recyle what I can but sometimes I love to just reuse the items instead plus I am always on the look out for ways to use up my fabric remnants. These bracelets were inspired by a tutorial on Favecrafts (which is a fab site for allsorts of crafts) and I added my own twist to it as always.


Ok, so the first thing to do is cut up a clean and dry old round plastic bottle, I used a 1 litre sized one.that had a wide enough circumference to make a bracelet to fit me.
Then, I cut out strips of plastic of various widths with some plastic left over for who knows what as yet :0)
Once you have cut out your bracelet shapes, staple or glue the ends together (I did both as the glue didn't want to stick) to your desired circumference. I just used a shop bought bracelet I already had to gauge this.


The next thing you want to do is cut a long strip of fabric, I didn't measure the length or width, just winged it. Now if you like, you may want to hem the raw edges so that you have a nice smooth wrap of fabric around your braclet.
Then, you need to apply some hot glue or other suitable glue to the inside of your bracelet and start to wrap your fabric strip around it, adding glue each time you stick down the fabric.
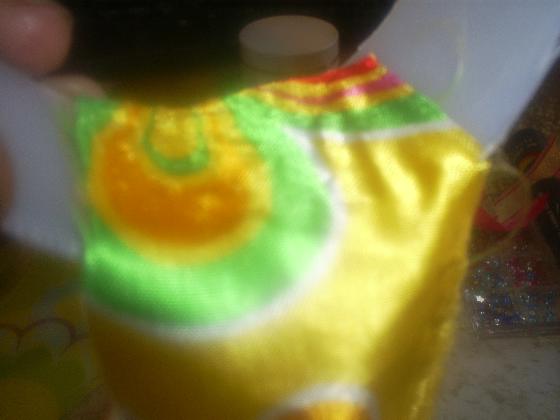

This is 1/2 way through wrapping the fabric around the bracelet...keep wrapping and glueing and wrap it tight!

Once you get to the end, you want to cut off the end of your fabric strip (if there is a lot left) and turn the end into the inside of your bracelet

This bit is optional, but its for a Flower embellishment: - draw 2 or 3 circles of different sizes onto the back of your fabric (or another fabric if you like), I just used a couple of different sized pots I had lying around

Cut out the circles, they don't have to be perfect as you we will be "singing" the edges

Then cut some little nicks into your circle (I did 4) to form the petals

Now using the heat from a lit Tee-Lite gently waft your fabric flower close but not in the flame. The fabric will start to curl and take more of a flower shape....please note, I used polyester satin, I am not sure how this would work with other types of fabric.
(PLEASE BE CAREFUL TO NOT CAUSE A FIRE - IT MAY BE WORTH HAVING A BOWL OF WATER NEARBY JUST IN CASE) .
(PLEASE BE CAREFUL TO NOT CAUSE A FIRE - IT MAY BE WORTH HAVING A BOWL OF WATER NEARBY JUST IN CASE) .

So here are the 2 layers to the flower

Next I hot glued the smaller layer to the bigger layer, stuck the flowers to my bracelet and glued on a few rhinestones and voila! I also made a pink one out of a remnant of Sari fabric that has been used in so many different projects it has an endless lifespan!

Until next time, Zoe xxx
I am linking this post to these fab sites linky parties...
I am linking this post to these fab sites linky parties...

